This article will assist you in configuring your Outlook 2016 client to connect to the Office 365 platform.
- If you are opening Outlook 2016 for the first time on your Mac, you will automatically be prompted to configure a new email account through the wizard and can continue with Step 2. If your account is being migrated to a new host and you are configuring your Outlook client to connect to that hose, you will need to create a new Outlook profile using the sub-steps below.
- In your Finder, navigate to the Applications folder.
- In the Applications window, hold down the Control key on your keyboard, and click the Microsoft Outlook application.
- In the pop-up menu, click Show Package Contents.
- In the Contents folder, open the SharedSupport folder.
- Open the Outlook Profile Manager.
- In the Outlook Profile Manager, click the + button.
- Enter a unique name for the new profile.
- Click on the newly created profile to highlight it, and then click the Action button.
- Click Set as Default.
- Close the Outlook Profile Manager.
- Open your Microsoft Outlook program.
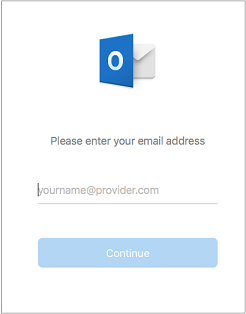
- In the Email field, enter your email address and click the Continue button.

- If a DOMAIN\username or Email field appears, re-enter your email address in this field.
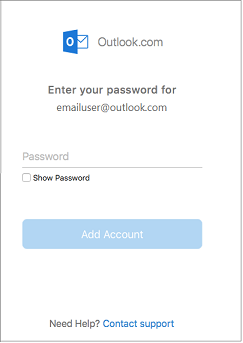
- In the Password field, enter your mailbox password

- Leave the Server (optional) field blank if present, and click the Add Account button.
- Outlook will search for the Autodiscover server and obtain the account settings. If you are prompted with a server redirect notice, check the Always use my response for this server box and click the Allow button.
- Once the account has been added, click the Done button.

